Deploying rdap-server with the customized SQL Provider
The server is a typical servlet Java WAR; so, simply put it into a servlet container. The following is an improvised example on how this might be done in Ubuntu/Tomcat; if any other means or environments are flavored, knock yourself out. (Payara and Wildfly have been tested as well as Tomcat).
General recommendation: if RedDog’s server will be at a production environment, configure a load balancer or a reverse proxy to protect the server.
When configuring the balancer/proxy, the context must be the same as the server. E.g. if the backend server is at
example.com:8080/rdap, then the frontend service should be atexample.com/rdap(note that the server context is/rdap).
Install Java
sudo apt-get install openjdk-8-jre
Install Tomcat
# Ubuntu repositories aren't used because their Tomcat is rather old.
# You will probably need to adapt this link because it keeps changing.
# See www-us.apache.org/dist/tomcat/tomcat-8
wget www-us.apache.org/dist/tomcat/tomcat-8/v8.5.49/bin/apache-tomcat-8.5.49.tar.gz
tar -xzvf apache-tomcat-8.5.49.tar.gz
CATALINA_HOME=$(pwd)/apache-tomcat-8.5.49
JRE_HOME=/usr/lib/jvm/java-8-oracle/jre
Install the MySQL driver on Tomcat
cd $CATALINA_HOME/lib
# https://dev.mysql.com/downloads/connector/j/
wget https://dev.mysql.com/get/Downloads/Connector-J/mysql-connector-java-5.1.44.zip
unzip -j mysql-connector-java-5.1.44.zip mysql-connector-java-5.1.44/mysql-connector-java-5.1.44-bin.jar
Install RedDog on Tomcat
mkdir $CATALINA_HOME/webapps/rdap
cd $CATALINA_HOME/webapps/rdap
# www.reddog.mx/server-download.html
wget https://github.com/NICMx/rdap-server/releases/download/v1.5.0/rdap-server-1.5.0.war
jar -xvf rdap-server-1.5.0.war
rm rdap-server-1.5.0.war
Add the SQL Provider to the classpath
The latest SQL Provider can be found here.
mv ~/Downloads/rdap-sql-provider-1.5.0.jar WEB-INF/lib
If classpath only contains one implementation, that’s all there is needed. Otherwise the provider’s hub class must be specified in the data-access.properties file:
echo "data-access-implementation = mx.nic.rdap.sql.impl.SqlProviderImplementation" > WEB-INF/data-access.properties
This file is rdap-server’s data access configuration file and contains some predefined properties that are useful for the reference implementation; more details on this configuration can be seen here.
Add custom queries to the classpath
There are more elegant ways to do this, but a relatively fuss-free and reliable option is to place in WEB-INF/classes the custom directory (that must contain all the customized queries files); assuming that such directory is named user_sql_files, this can be done:
mv ~/Documents/user_sql_files WEB-INF/classes
Create the data source that will link RedDog and the database
One way to do this in Tomcat is to define the datasource in context.xml.
The file $CATALINA_HOME/webapps/rdap/META-INF/context.xml must be created, then the following content must be inserted and the dummy values (in square brackets) replaced:
<?xml version="1.0" encoding="UTF-8"?>
<Context path="/rdap">
	<Resource name="jdbc/rdap"
		type="javax.sql.DataSource"
		auth="Container"
		driverClassName="com.mysql.jdbc.Driver"
		url="[URL]"
		username="[username]"
		password="[password]"
		validationQuery="select 1" />
</Context>
Start Tomcat
$CATALINA_HOME/bin/startup.sh
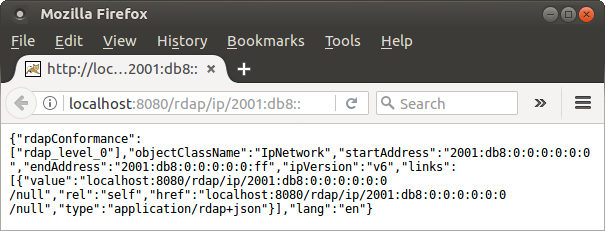
RedDog server is now running and serving data provided by the SQL Provider’s queries.


